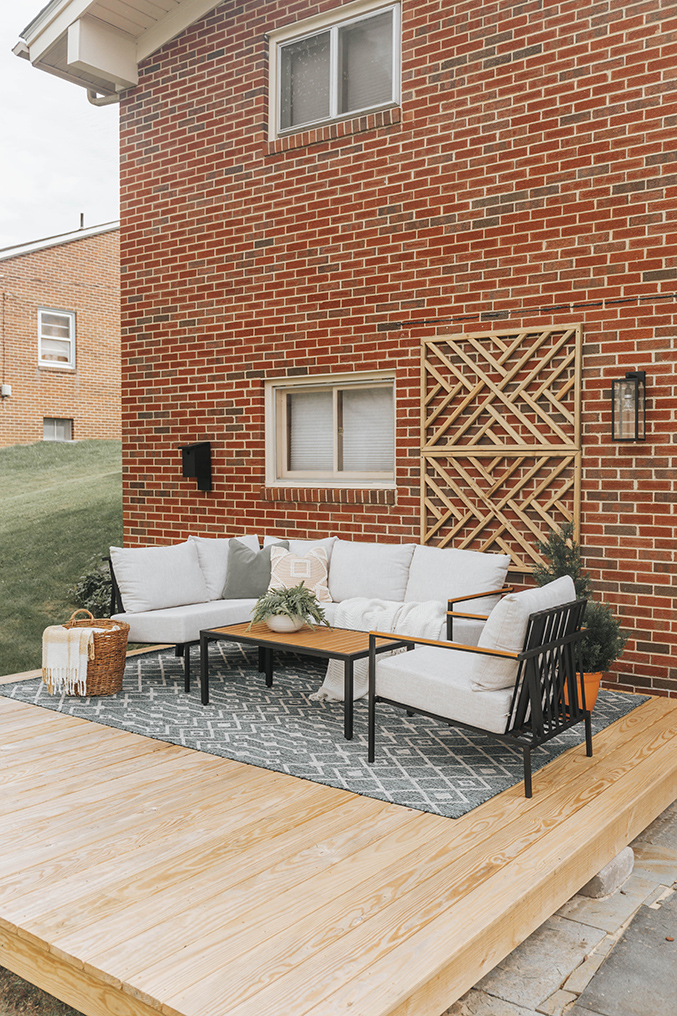
As with most things here at our house, projects evolve over time. It takes a while for me to plan things out on my own, not to mention wrangle the help I need to get the plan worked out in the end. So when I reveal something here on the blog, chances are pretty good that it’s not really finished.
Case in point, our DIY platform deck. When we completed that and revealed it over the summer, it wasn’t totally done. We still need to stain the deck, which I think will be a game-changer, but we have to wait for the treated wood to dry out. I also felt like the wall behind the seating arrangement was lacking a little something…And that leads me to today’s post!
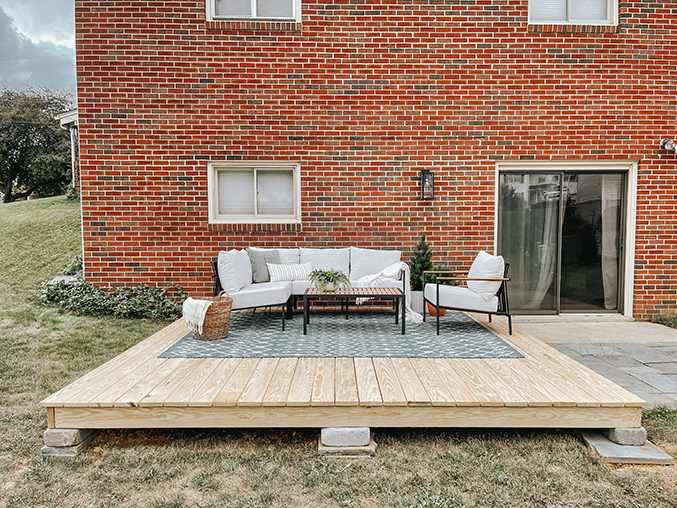
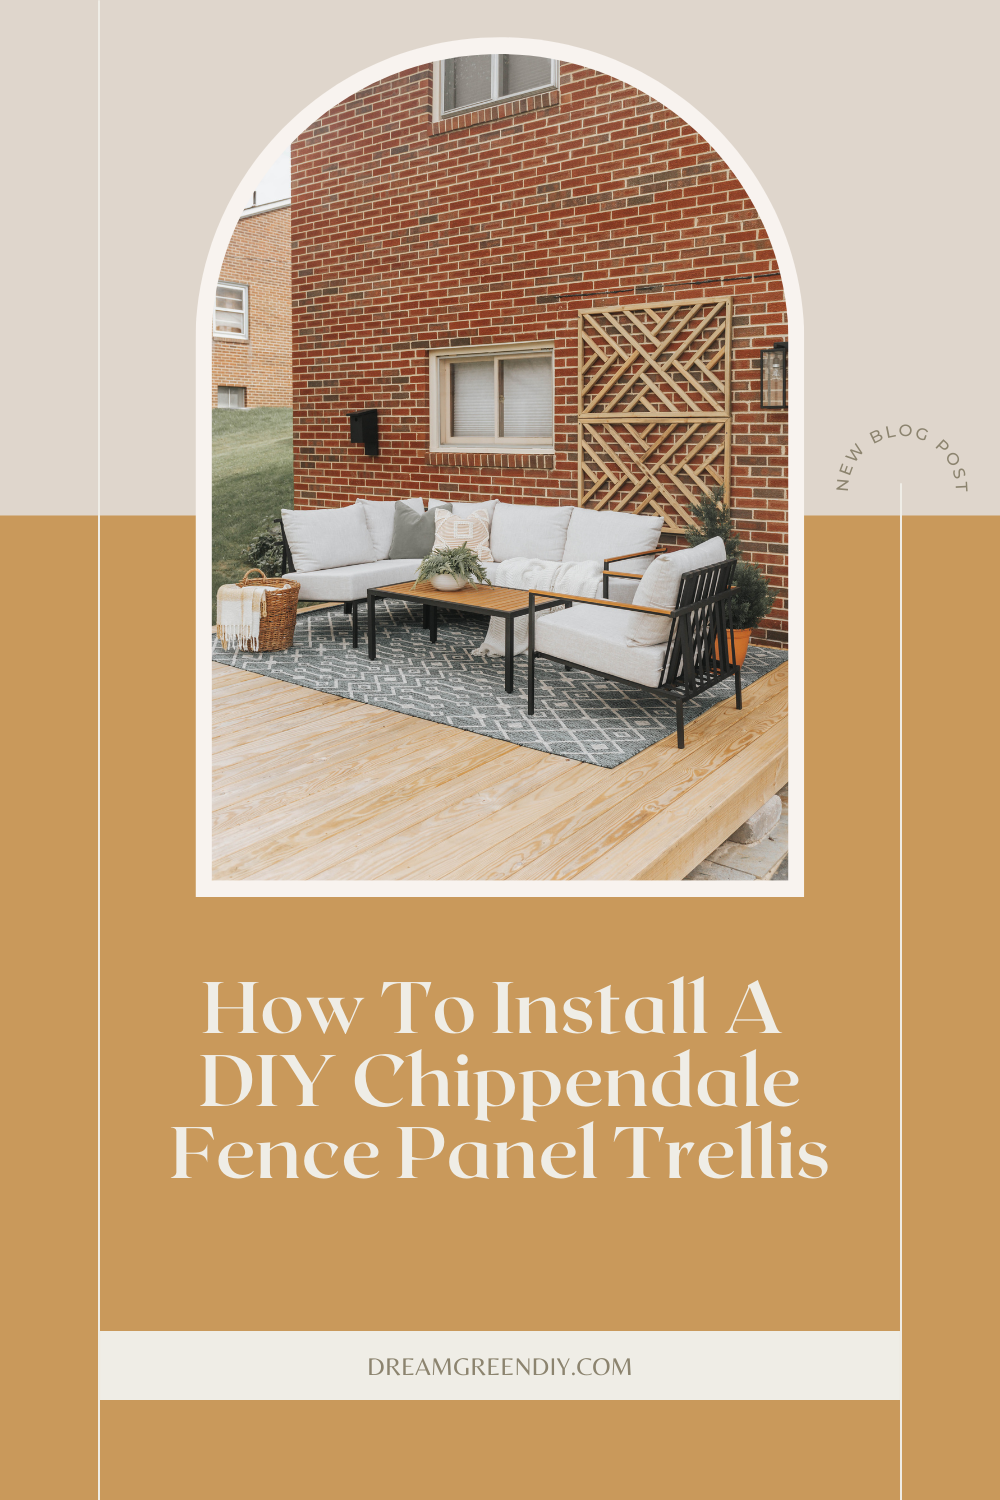
You might be able to see in that photo a couple images up what I mean—that the brick wall felt a little blank behind the sofa. That’s where I wanted to hang or install something that filled up the area and visually broke up the mass of red brick. The only problem with it being outside is that I needed to make sure that it was weather-proof, so traditional art was out, and I felt like decorative metal would eventually degrade under snow and rain.
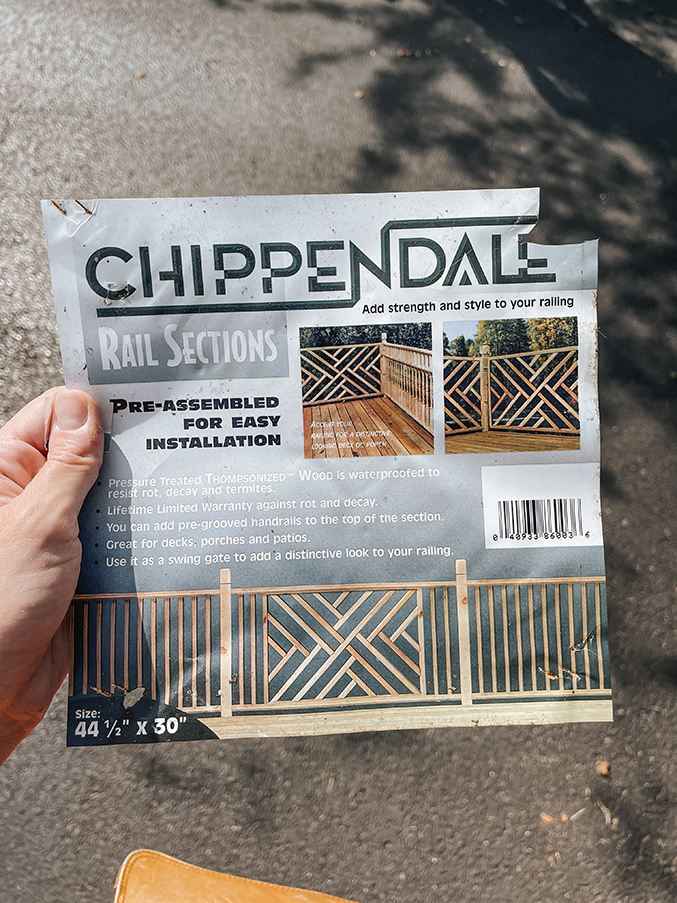
I thought long and hard about it, and just happened to stop by our local Habitat Restore, where I found stacks and stacks of salvaged Chippendale rail sections. The tag (pictured above) showed that the panels were meant to add some design to a railing, but my thought was to turn them into outdoor art for our deck.
Initially I was planning on turning them into a trellis for plants, but this area of the house is pretty far removed, so I didn’t like the idea of installing anything high maintenance, like a living plant wall. I toyed with the idea of using faux plants (all of the potted plants you see around the deck are fake!), but I ended up liking the Chippendale rails on their own—at least for now. Anyway, I’m getting ahead of myself. Let’s talk installation.
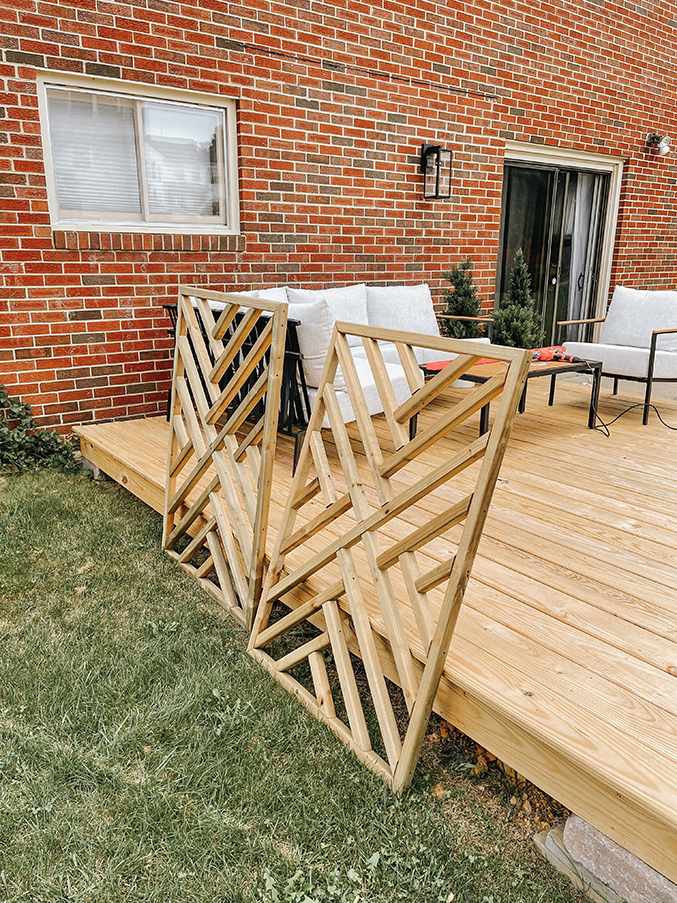
I bought two of them, each for $35, and then had John help me plan out the design. We weren’t sure if both panels would ultimately fit (I didn’t measure before I bought these—it was a spontaneous purchase), but after holding them up in a couple different configurations, we found that they fit perfectly one on top of the other.
Quick tip! If you and your partner both want to be able to preview how something will look in your home but the item in question is heavy or hard to hold, have one person hold it up quickly while the other person takes some photos of the setup with their phone. That way, one person isn’t standing around with their chin in their hands trying to decide for a while as the other person struggles under the weight of the item. You can both look at the photos later on, and the pieces need to be held up for inspection only a fraction of the time.
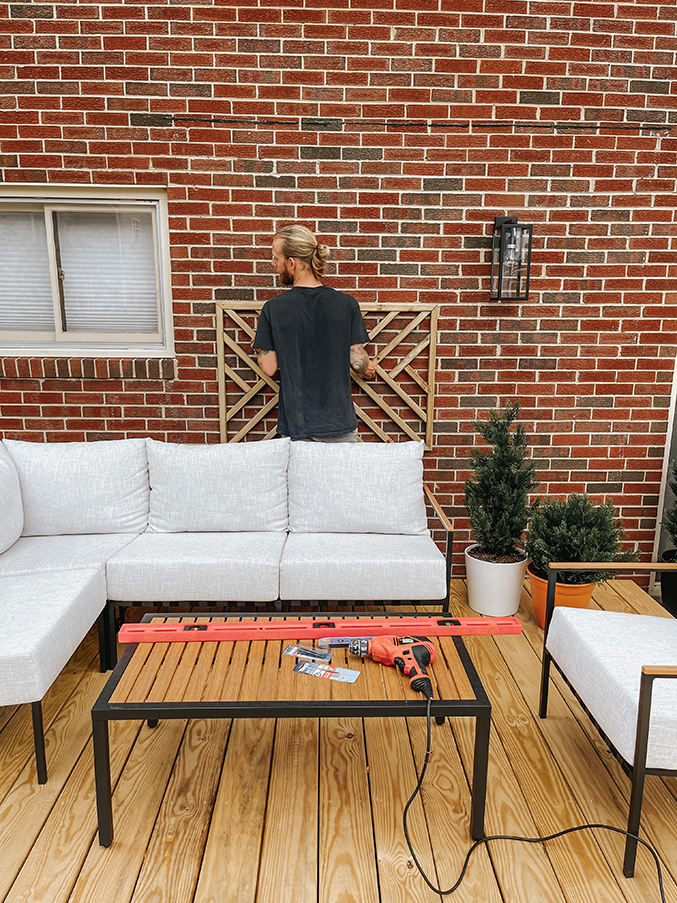
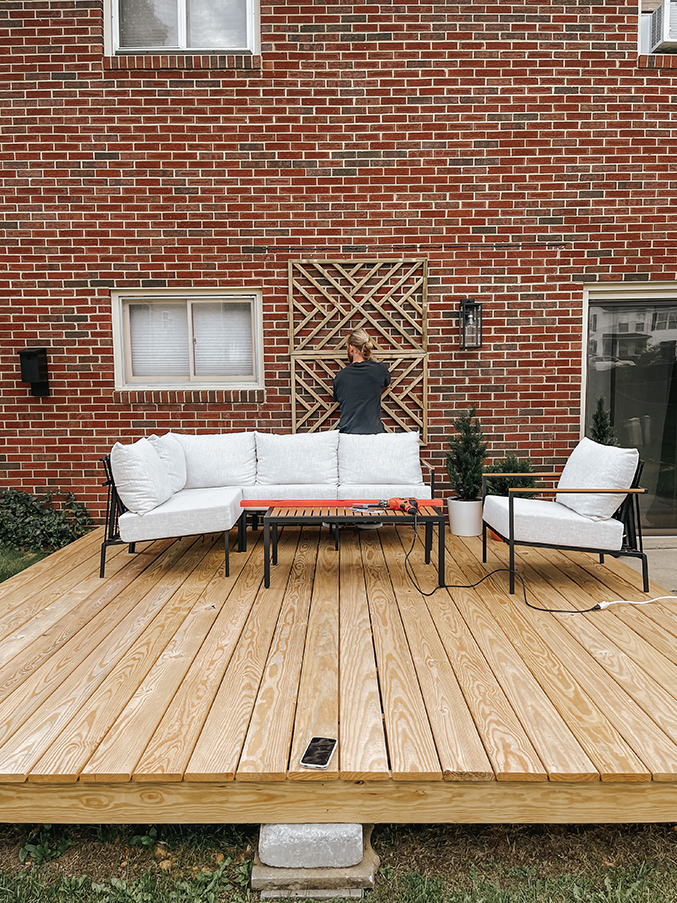
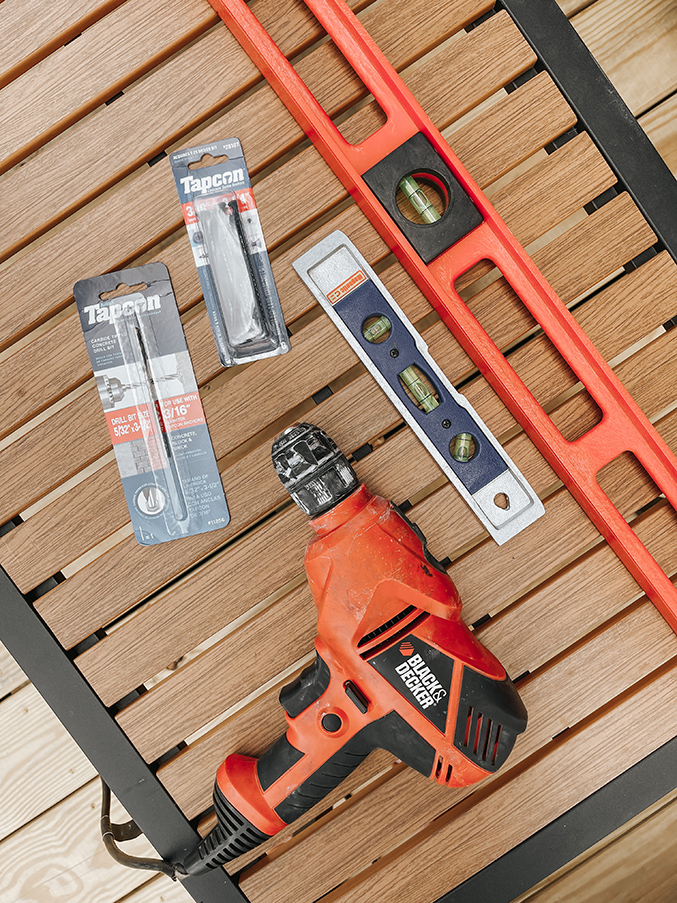
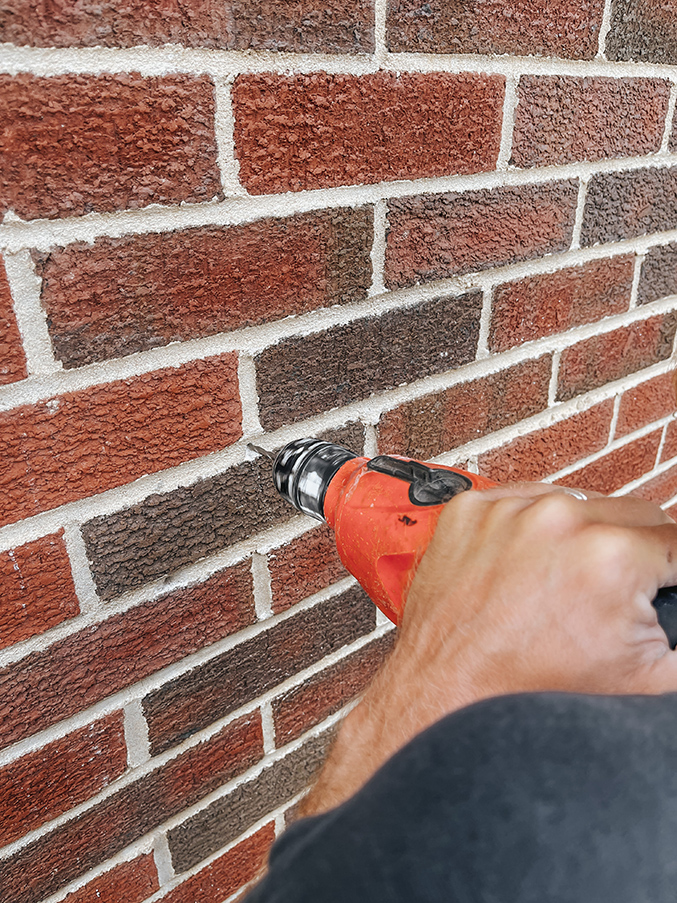
After showing John that image above that I took with my phone, we both agreed that we had a winning configuration. To install the rails, we found a spot on the wooden edge of the rail where it met up with the mortar between our bricks, predrilled holes into the mortar and the rail using a masonry bit, and then drove masonry screws through the holes to attach the rail to the house. We repeated those steps twice on each rail. We were going to put in more screws, but the two we screwed into each rail seemed to hold them up just fine, so we didn’t do anymore (masonry screws are pricey!).
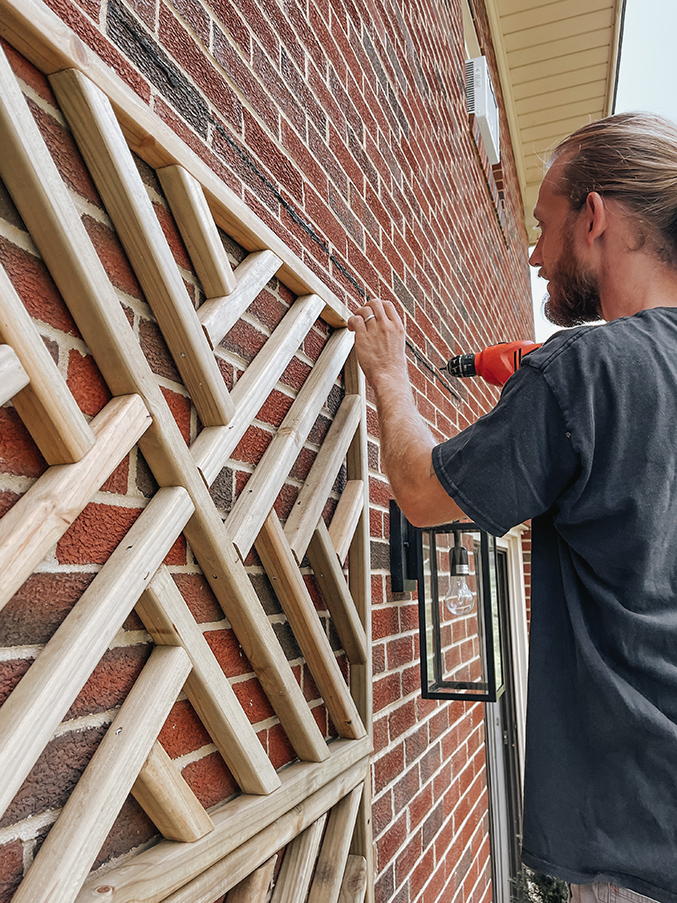
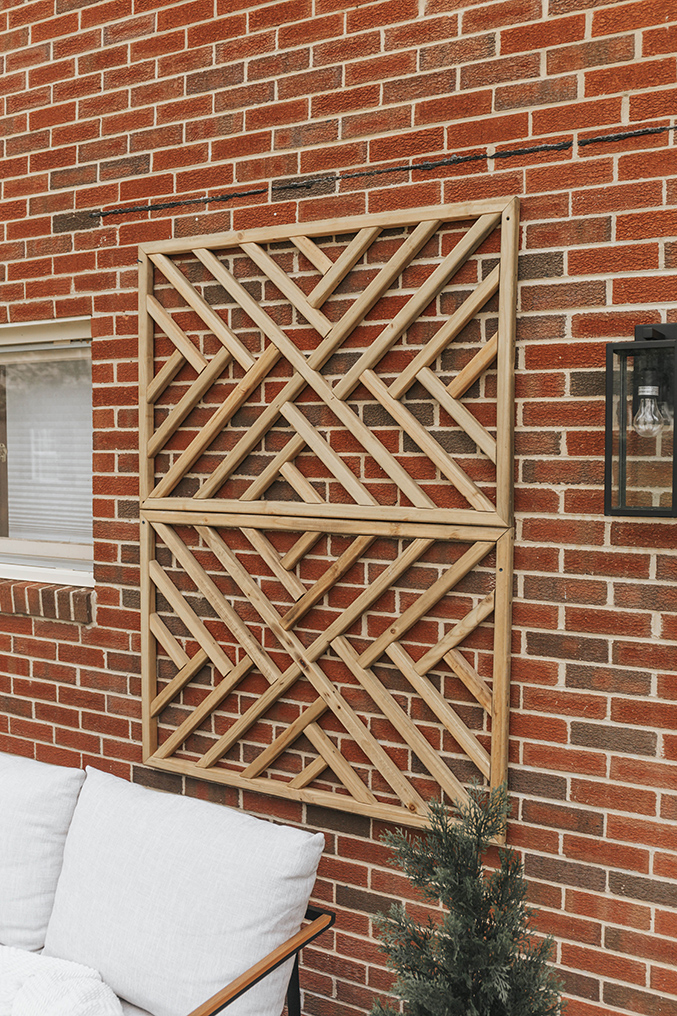
I absolutely adore the look of our new faux trellis art, and love even more that it uses salvaged recycled materials. The zigzag design of the wood rail is really interesting to look at, and definitely helps break up all of that red brick. I might still add some faux vines, but we’ll just have to wait and see. We will also probably seal the trellis with a clear coat after the treated wood has a chance to dry out, that way it will be fully protected from weather. See? Even this project is snow-balling into more work, haha! Just gotta enjoy the process…
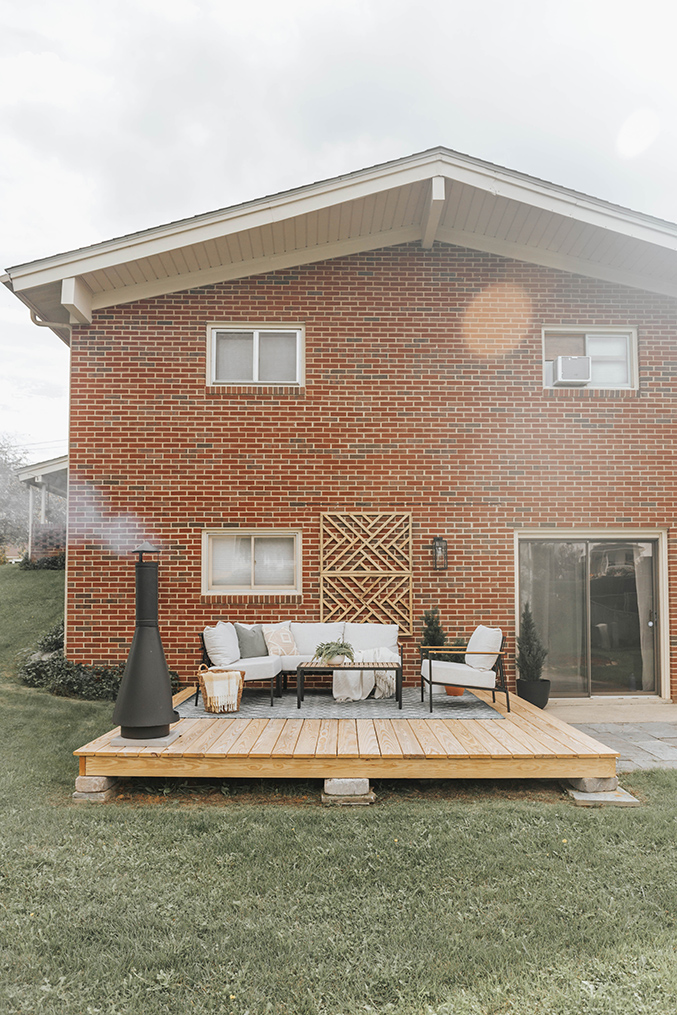
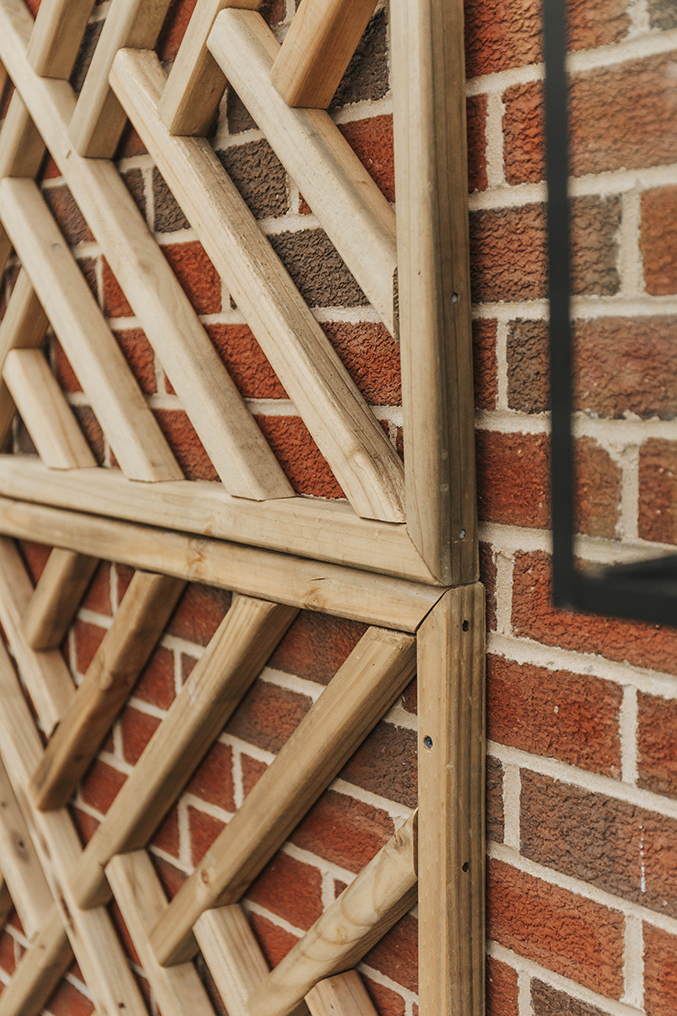
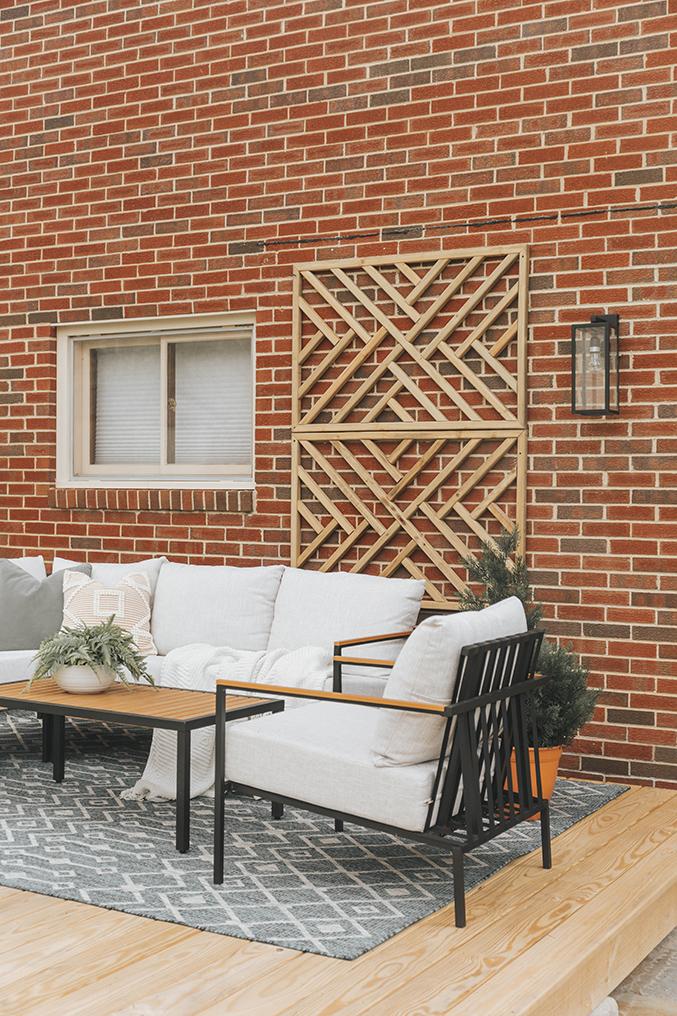
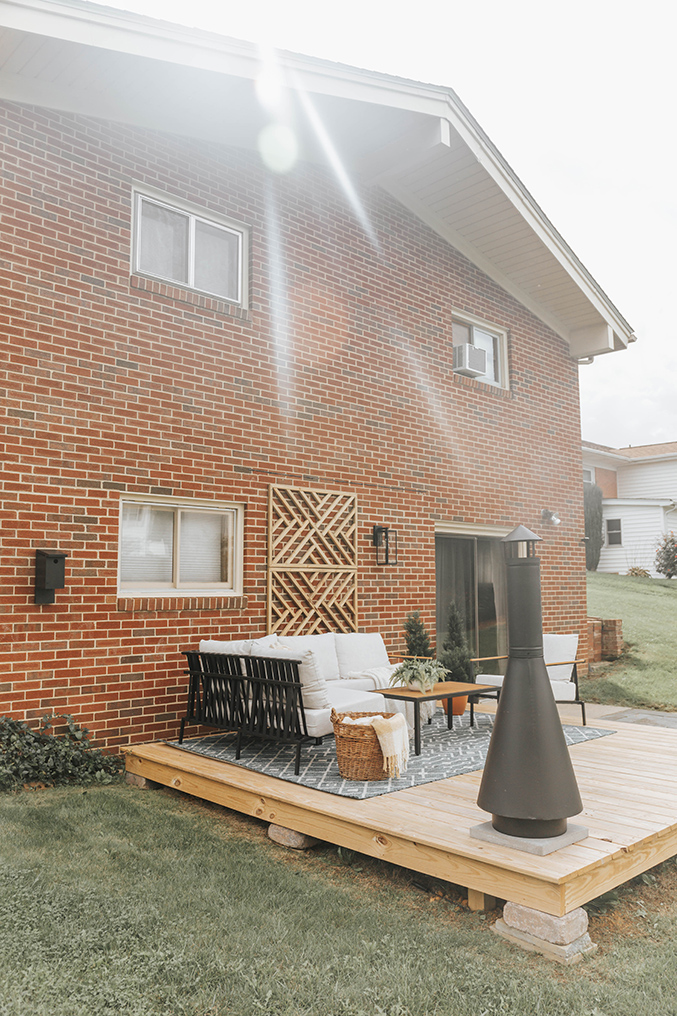
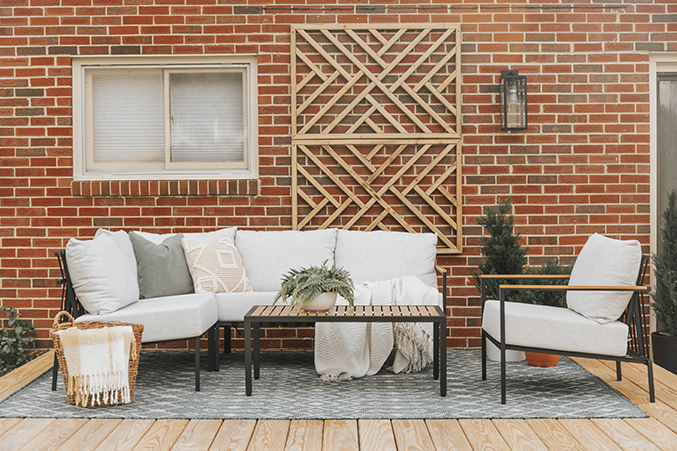
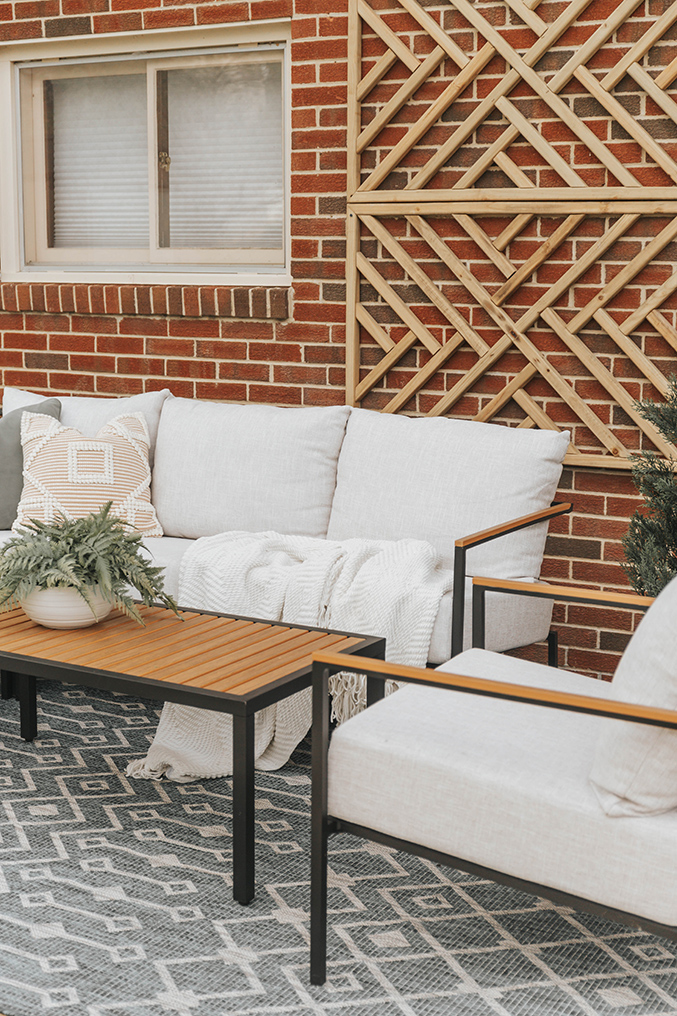
What do you think of the solution we came up with for this area of our outdoor living space? Would you have done more of a traditional plant-covered trellis? Or would you have created something completely different? I’d love to hear your ideas, so do tell! Oh, and if you’re local and you liked this project, head to the Charlottesville Habitat Restore because they have tons of these Chippendale railings still available.
P.S. Check back next week for more details on the chiminea you might have spotted in those “reveal” photos above. We can’t wait to put it to good use over the weekend. Cheers!
*I earn a small percentage from purchases made using the affiliate links above. Affiliate links are not sponsored. Rest assured that I never recommend products we wouldn’t use or don’t already love ourselves.
The post DIY Chippendale Fence Panel Trellis appeared first on Dream Green DIY.
